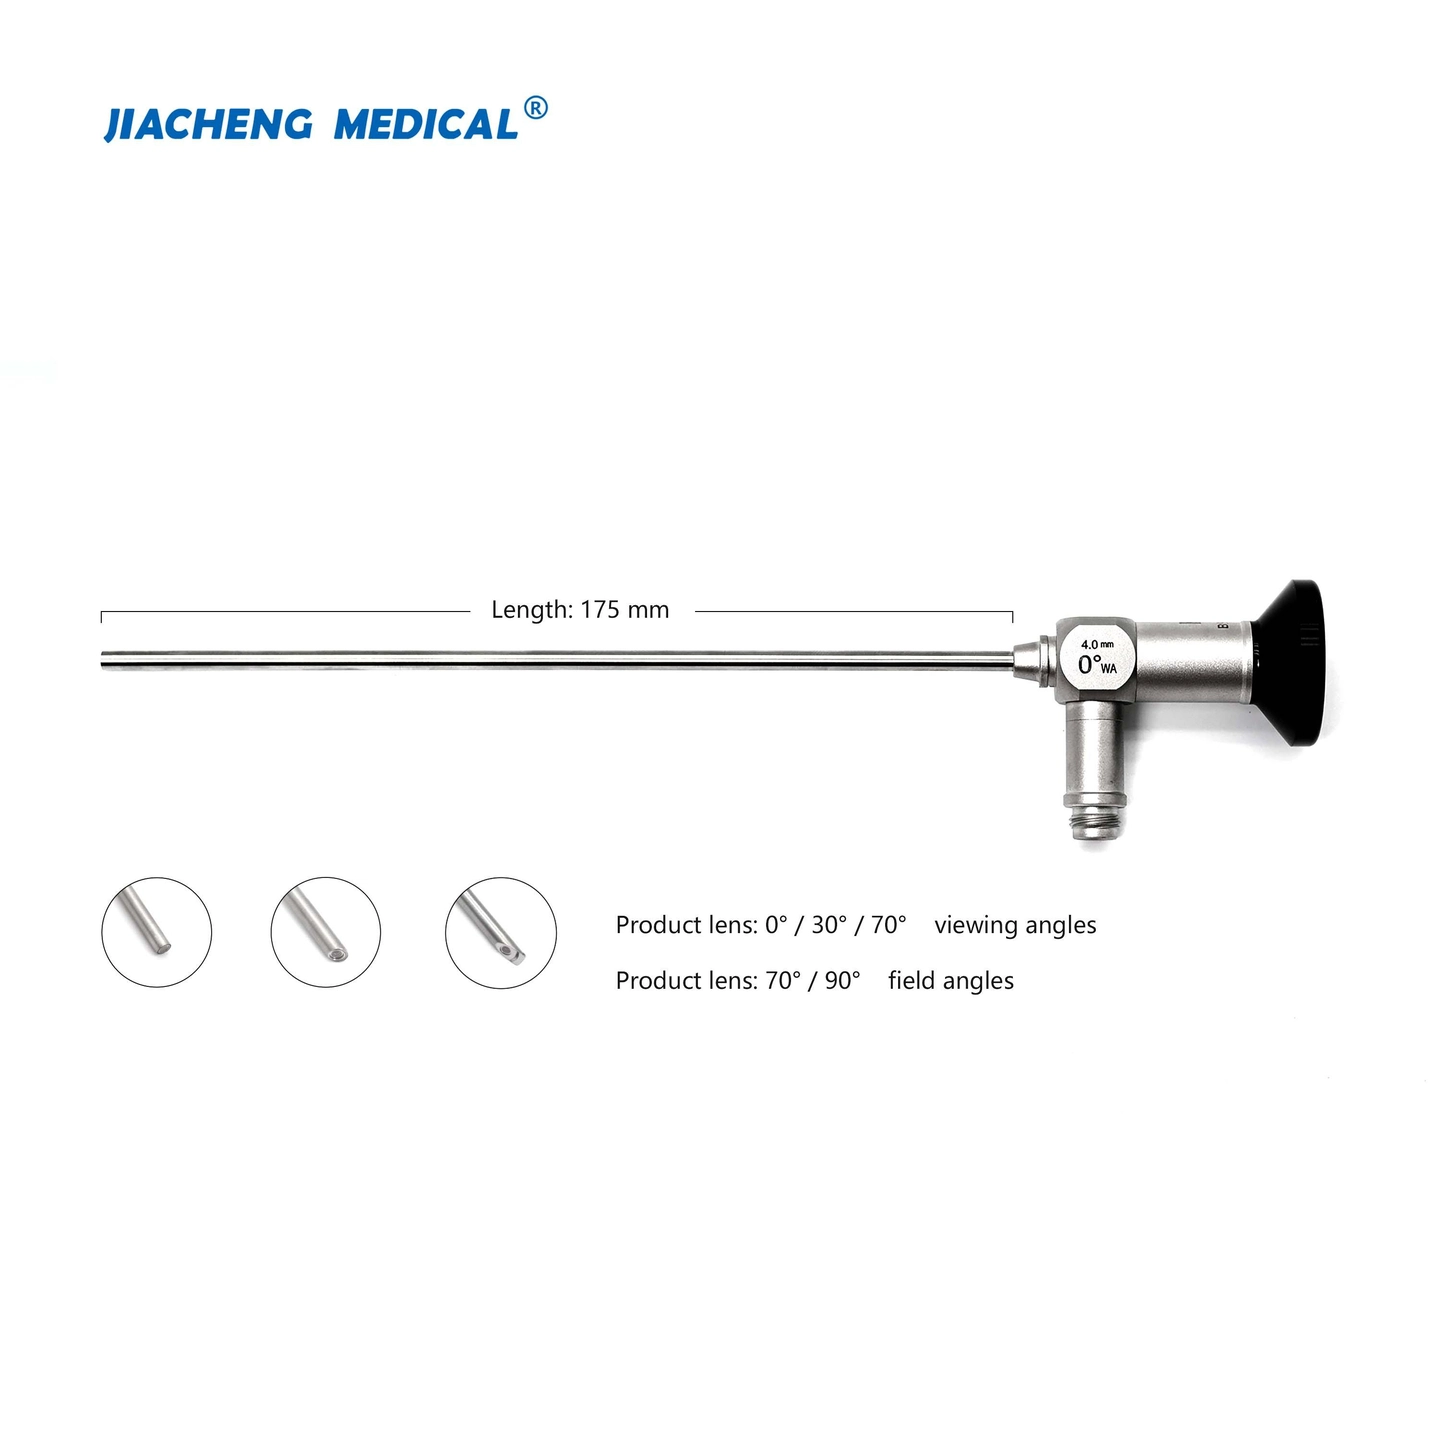


Key connecting sections of rigid endoscopes are fixed via laser welding to guarantee structural rigidity and sealing performance. During equipment maintenance, these weld seams must be separated carefully without damaging internal optical assemblies and precision mechanical components.
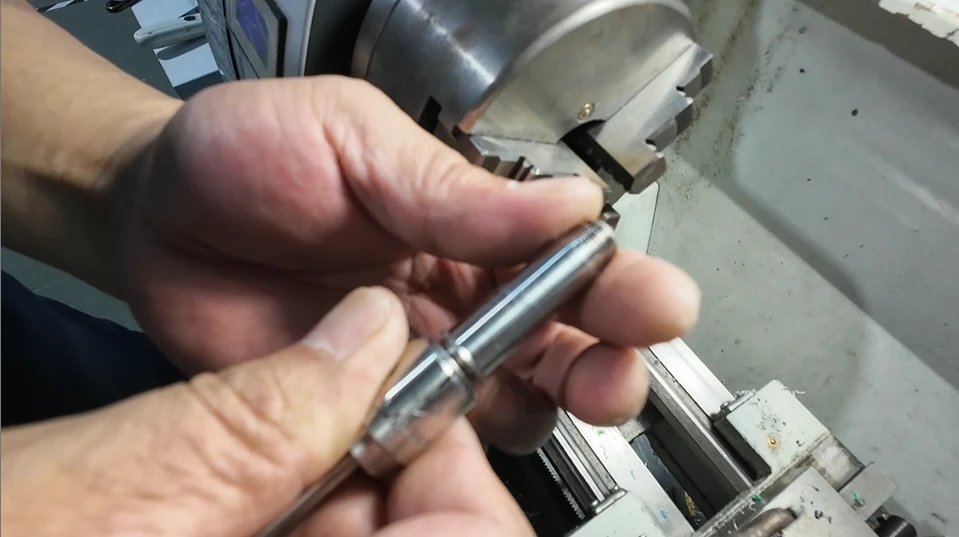
Lathe Turning Operation
Clamp the endoscope onto the lathe spindle. Ensure perfect concentricity between the scope body and spindle to avoid runout during rotation. Mount the parting tool and fine-tune its position relative to the endoscope. Critical requirement: as the scope rotates with the spindle, the cutting tool must not collide with the light guide connector or other components.
Operators use the cross feed handwheel to move the tool to the preset right position and cut the first notch. Then shift the tool leftward to machine the second notch. Finally, return to the midpoint and start cutting inward toward the scope interior.
Throughout turning, set spindle speed between 50–100 RPM. This low-speed parameter derives from field experience: excessive rotational speed generates heavy, uncontrollable cutting force, which may cause tool jamming or chipping. This can damage the endoscope and pose safety risks to technicians. Low-speed operation delivers stable cutting conditions, allowing operators to adjust feed rate based on tactile feedback and keep the whole process under control.
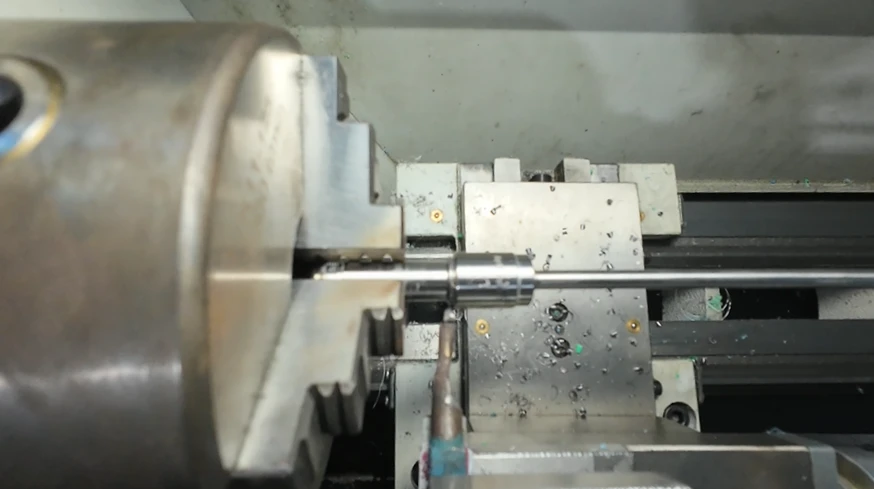
Separation Verification
When the cutting tip approaches the welded zone, cutting resistance will shift noticeably and abnormal noise will occur, because the hardness of laser weld metal differs from the base material. This signal indicates the cut is nearly complete. Extra caution is required to control cutting depth and prevent the tool from penetrating the weld layer and damaging internal structures.
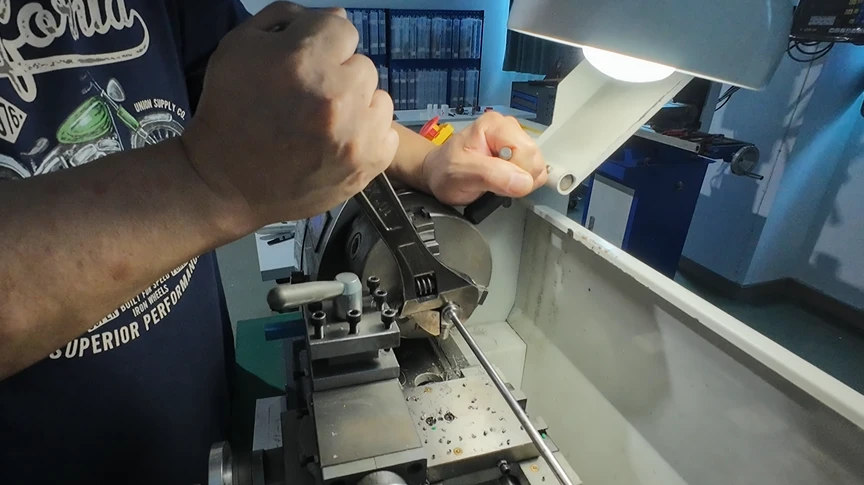
After turning, lock the spindle to stop rotation. Use calipers or an adjustable wrench to grip the opposite side of the endoscope joint and apply relative rotational force. If the two connected sections can rotate against each other, the weld has been fully severed and disassembly succeeds. For intuitive verification, mark both sides of the joint gap before cutting. Visible offset between marks confirms successful separation.
Parting tools suffer wear during machining welds, especially when cutting uneven-hardness laser weld layers. When cutting efficiency drops or notch quality deteriorates, remove the tool for regrinding to restore sharpness, ensuring precision and safety for subsequent cutting tasks.
The above covers the complete workflow for disassembling laser-welded joints on rigid endoscopes. Every step directly affects the integrity of delicate internal components. Endoscope maintenance involves cross-disciplinary techniques spanning optics, mechanics and electronics; weld removal is only one segment of the full repair process. We will continue sharing more process explanations and real repair cases for various endoscope models. Stay tuned.