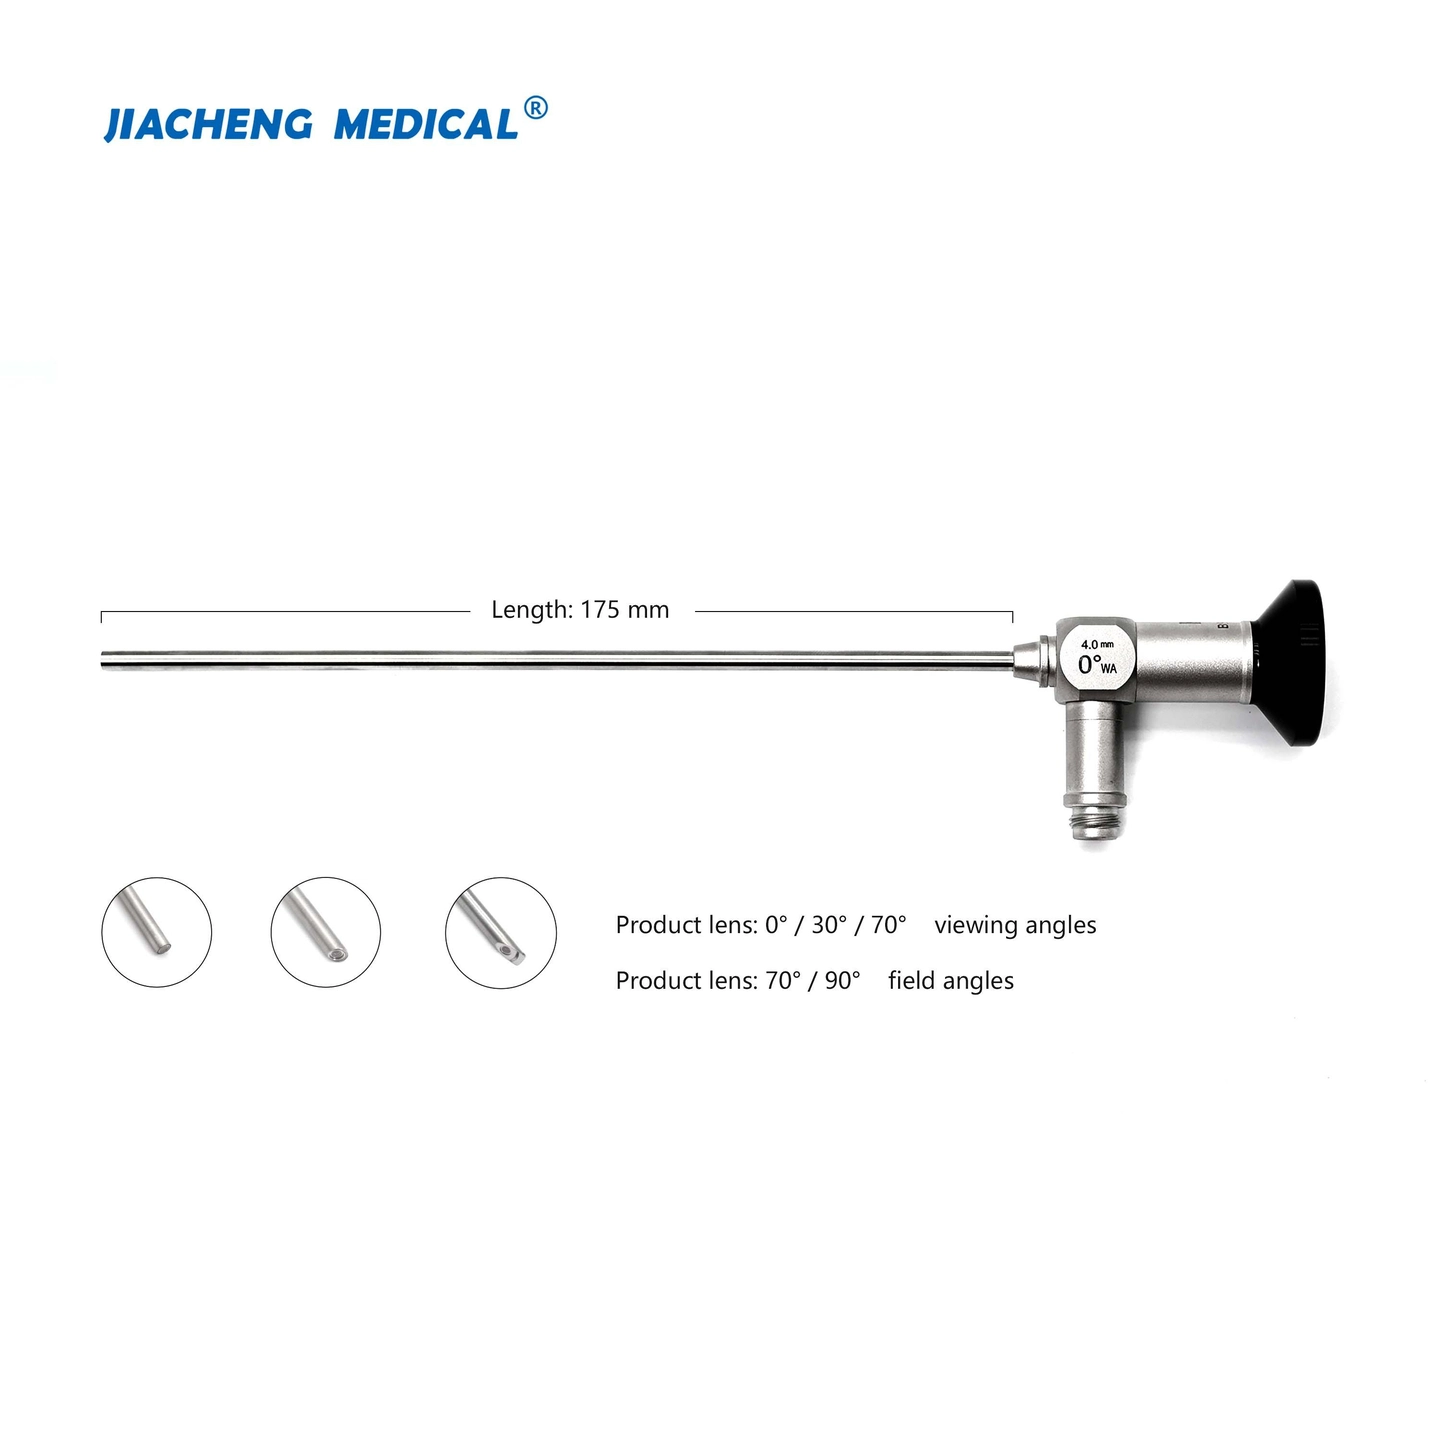


Rod lenses serve as core image transmission optical components within rigid endoscope optical systems. If delamination occurs on the bonding surface of a single-bonded rod lens and brand-new spare parts are unavailable, salvaging intact rod lenses harvested from other endoscopes of the identical model with damage on irrelevant positions delivers an economical and practical repair solution. This article elaborates the full operating workflow and critical control points of this refurbishment procedure.
A set of custom tooling is required throughout the repair process. The clamping implement adopted is round forceps with a 1.2 mm jaw opening, which clamps rod lenses measuring 1.2 mm in outer diameter without scratching optical surfaces.
A bespoke dispensing needle is also fabricated for precise UV adhesive application. Prepare a steel needle with a diameter of 0.25 mm; flatten the needle tip, then carry out grinding, chamfering and precision polishing sequentially to form a flat, smooth cross-section of 0.25 mm in diameter. The finished needle must be entirely free of burrs. Sharp burrs will easily abrade lens surfaces during adhesive pickup and dispensing operations.
Disassembly & Separation
For fractured bonded rod lenses or those scheduled for replacement, commence with disassembly. Apply uniform heat to the bonded joint using a hot air gun to soften the original cured UV adhesive. After heating, secure both ends of the rod lens with rubber pads and separate the bonded two segments slowly via lateral offset dislocation. This separation method distributes stress evenly and avoids edge chipping or lens fracture caused by direct axial pulling. Screen out qualified usable lenses after separation and conduct polishing to clear residual UV adhesive.

Lens Surface Polishing and Precision Cleaning
Dip a wooden toothpick in clean water followed by a small amount of polishing compound, then gently grind the bonding surfaces in circular motions to remove residual adhesive residue.

Upon finishing polishing, thoroughly clean the optical components. Clamp one end of the rod lens with forceps and wipe the two bonding faces using alcohol-saturated lint-free swabs. Hold the lens with the 1.2 mm round forceps while wiping the second surface to avoid recontaminating the already cleaned side.
Adhesive Dispensing & Optical Cementing

UV-curable optical adhesive featuring outstanding autoclave resistance and high light transmittance is specified for rod lens bonding. The UV adhesive deployed in this case is independently developed and formulated in-house. [Learn More about...]
Take the prefabricated 0.25 mm dispensing needle before glue application. Discard the first droplet of adhesive to rule out impurities trapped at the needle tip and apply only subsequent uncontaminated adhesive.
Clamp the longer rod lens segment and place its bonding face upward. Dip the flat 0.25 mm needle tip with an extremely tiny volume of UV adhesive; precise dosage control is mandatory. Excessive adhesive creates an overly thick bond line, which impairs thermal resistance and deviates the designed refractive index of the lens. Dispense one micro-droplet at the center of the bonding surface, then align the shorter mating rod lens and attach its bonding end directly onto the adhesive layer.
Set the assembled lens on an acrylic positioning slider for automatic coaxial alignment. Inspect alignment under high-magnification optics; adjust the position by gently rolling the lens body and fix it rapidly if misalignment is observed. Driven by intermolecular surface tension, the UV adhesive spreads uniformly across the bonding interface until the central axes of the two lens segments align perfectly. Verify positioning accuracy afterward. Utilize the flat reverse side of the rod lens to stand the assembly vertically on a clean acrylic block; gravity facilitates even adhesive distribution inside the joint, with excess adhesive flowing naturally toward peripheral edges.

UV Curing & Post-Processing
Leave the bonded assembly stationary for 5–10 minutes to allow sufficient leveling of the adhesive across the bonding interface. Conduct UV irradiation curing with dedicated UV curing equipment afterward. Curing parameters adopted in this case: 250 W Yokohama UV lamp equipped with a single 1/4 output head, irradiation distance around 1 cm with vertical straight irradiation, total curing duration of 5 minutes.

After curing finishes, wipe overflow adhesive around the bonding perimeter using alcohol soaked swabs. Inspect the joint surface carefully during wiping to confirm a smooth bond line free of air bubbles and insufficient glue filling. Wipe the two end optical surfaces of the rod lens afterward, inspect imaging sharpness and definition under magnification. Proceed with low-temperature drying only after validating qualified optical transmission performance.
Post-repair dimensional measurement shows the refurbished rod lens measures 1.09 mm in outer diameter and 6.91 mm in overall length. Diameter measurement must be performed under magnification with extremely gentle manipulation to prevent damage to the anti-reflection coating on lens surfaces. An additional thermal stabilization treatment is implemented after inspection to further enhance structural stability of the cured adhesive layer.
We will keep releasing detailed standard operation procedures and practical repair cases covering optical component refurbishment and maintenance solutions for various endoscope models in follow-up articles. Stay tuned for updates.