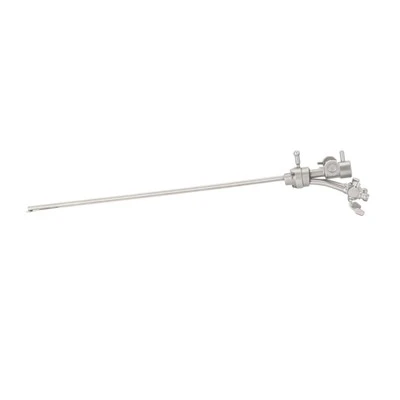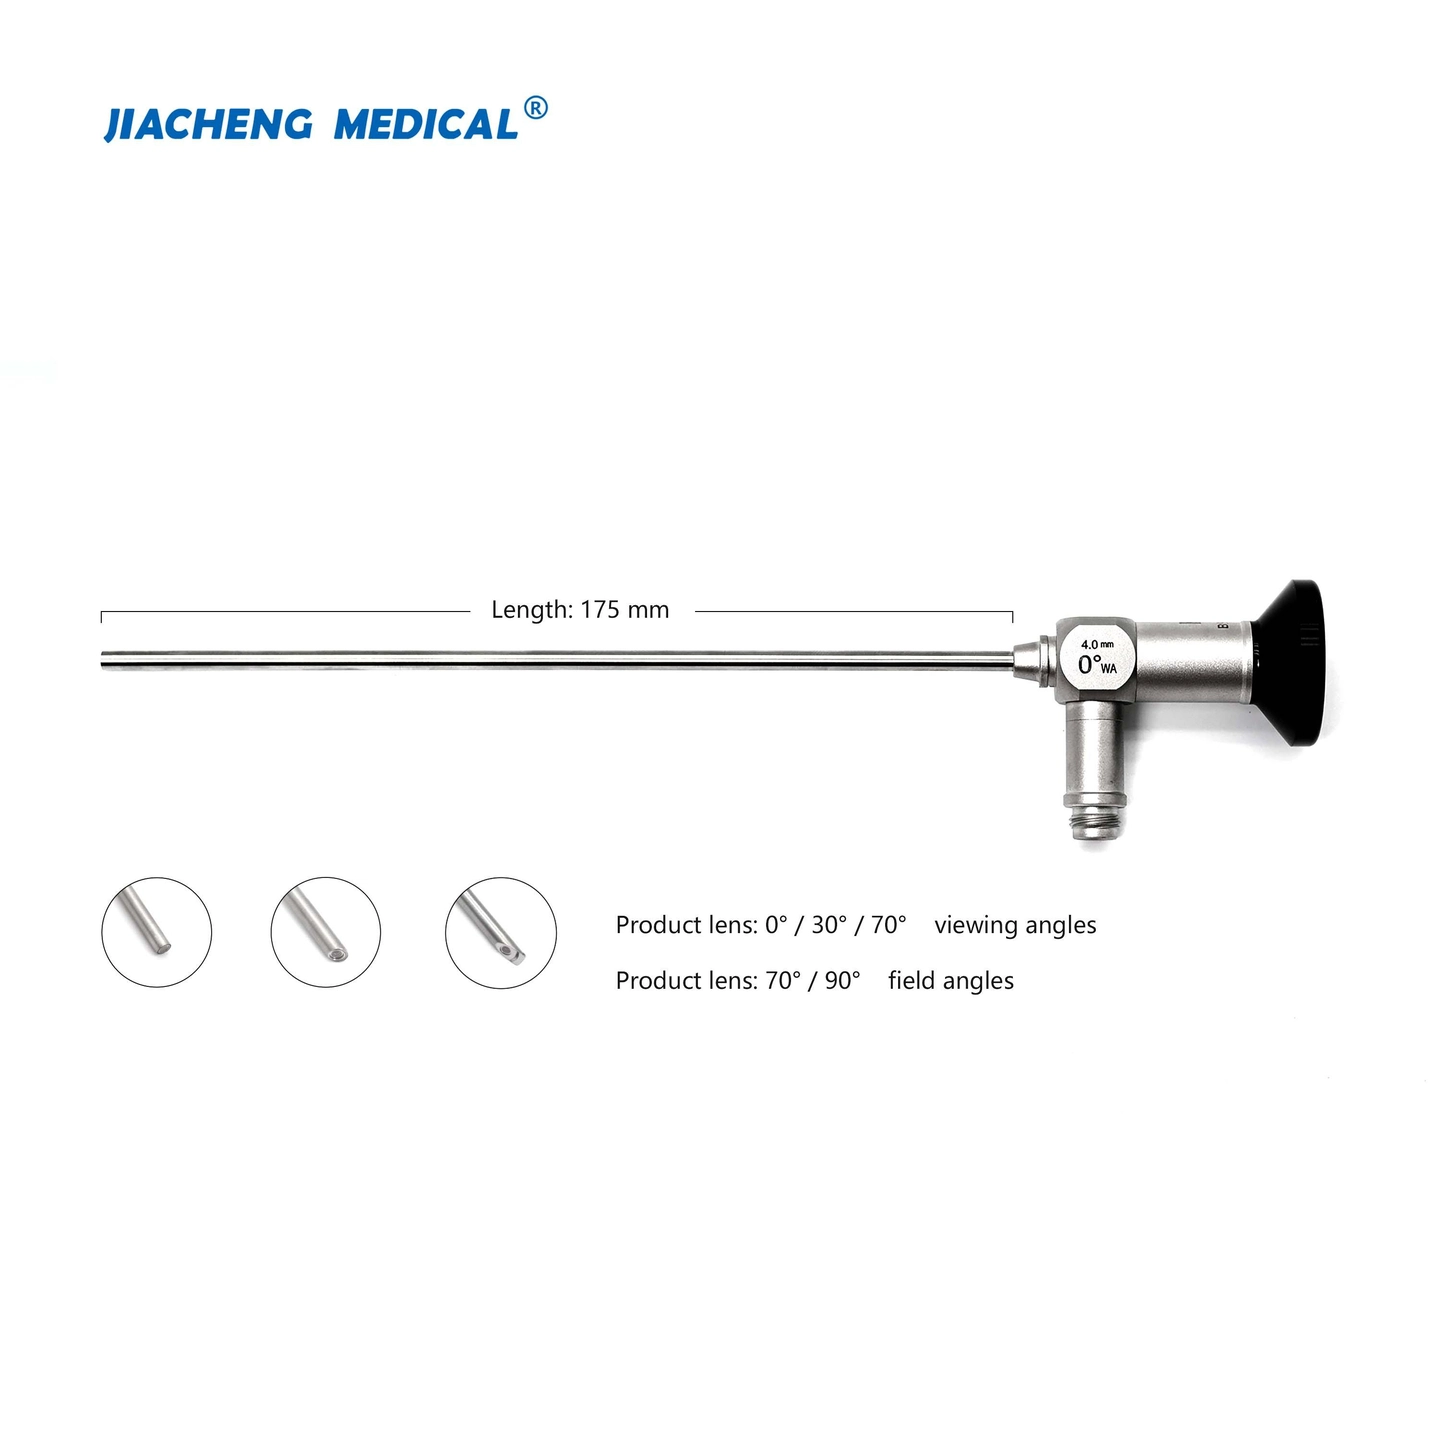



Rigid sinus endoscopes are reusable medical devices designed to withstand hundreds of sterilization cycles over their service life. But that durability is not unconditional. Optical degradation, seal failure, and mechanical damage are among the most common reasons endoscopes are returned for repair or prematurely replaced - and in the majority of cases, these failures are preventable through correct cleaning, sterilization, and maintenance practice.
This guide covers the complete post-use protocol for rigid sinus endoscopes: from point-of-care handling immediately after surgery through cleaning, disinfection, sterilization, inspection, and storage. It is intended for hospital sterile processing department (SPD) staff, operating room nurses, biomedical engineers, and procurement teams evaluating endoscope suppliers on the basis of instrument longevity and reprocessing compatibility.

autoclavable design for repeated sterilization cycles
1. Why Reprocessing Protocol Matters
A rigid sinus endoscope that enters a FESS procedure carries biological contamination - blood, mucus, tissue debris, and potentially pathogenic microorganisms - on both its external surfaces and, in the event of seal compromise, internally. Inadequate reprocessing creates two distinct risk categories:
Patient safety risks
- Cross-infection between patients from inadequately disinfected instruments
- Biofilm formation in insufficiently cleaned lumens or crevices
- Residual protein deposits that shield microorganisms from sterilization agents
Instrument integrity risks
- Optical fogging caused by moisture ingress through compromised seals
- Corrosion of stainless steel components from incompatible chemical agents
- Coating breakdown on rod lens surfaces from repeated exposure to inappropriate detergents or sterilization temperatures
- Mechanical fatigue from rough handling during cleaning
- Both categories are preventable. The protocol described in this guide reflects current best practice for reusable rigid endoscope reprocessing and is aligned with the requirements of ISO 15883 (washer-disinfector standards), ISO 17665 (steam sterilization), and manufacturer reprocessing instructions (IFU).
2. Immediate Post-Use Handling (Point of Care)
What happens to the endoscope in the first minutes after use has a disproportionate impact on cleaning effectiveness and instrument longevity. Dried biological material is significantly harder to remove than fresh contamination - and protein residues that are not fully removed during cleaning can compromise sterilization efficacy.
At the point of care:
- Wipe the external surface of the insertion tube with a soft, lint-free cloth moistened with sterile water or enzymatic solution immediately after withdrawal from the patient
- Do not allow blood or secretions to dry on any surface
- Do not place the endoscope on metal instrument trays without padding - optical components and the insertion tube are vulnerable to impact damage
- Transport to the reprocessing area in a covered, rigid container. Do not coil or bend the insertion tube
- If reprocessing will be delayed, immerse the endoscope in enzymatic pre-soak solution according to the manufacturer's specified dilution and contact time
What to avoid:
- Never use dry gauze or abrasive materials on optical surfaces
- Never leave the endoscope submerged in saline - saline is corrosive to stainless steel over time
- Never stack instruments - endoscopes should be transported individually or in dedicated trays
3. Manual Cleaning
Manual cleaning is the most critical step in the entire reprocessing cycle. Sterilization eliminates microorganisms - but it does not remove organic debris. An endoscope that is sterilized without adequate prior cleaning may still carry protein deposits, biofilm precursors, and shielded pathogens.
3.1 Equipment Required
- Dedicated endoscope cleaning sink (separate from general instrument washing)
- Enzymatic detergent (low-foaming, pH-neutral, endoscope-compatible)
- Soft-bristle brushes in appropriate sizes for accessible channels and crevices
- Lint-free, non-abrasive cloths
- Magnification loupe (recommended for optical surface inspection)
- Personal protective equipment: gloves, eye protection, fluid-resistant apron
3.2 Cleaning Procedure
Step 1 - Leak test Before immersion, perform a leak test according to the manufacturer's instructions. This confirms that the endoscope's sealing integrity is intact. An endoscope that fails the leak test must not proceed to wet cleaning - internal moisture ingress will cause optical fogging and corrosion. Remove it from the reprocessing cycle and send for inspection or repair.
Step 2 - Enzymatic soak Immerse the endoscope fully in freshly prepared enzymatic detergent solution at the manufacturer's recommended dilution and temperature. Typical contact time is 5–10 minutes. Enzymatic detergents break down proteins, fats, and carbohydrates, loosening debris from surfaces and crevices.
Step 3 - Mechanical cleaning While still submerged, use soft-bristle brushes to clean all accessible external surfaces, paying particular attention to:
- The junction between the insertion tube and the endoscope body
- The light post connector
- The eyepiece housing and any recessed areas around the optical window
- Any surface irregularities or textured areas that can trap debris
Do not use metal brushes or abrasive pads on any surface. Do not apply pressure directly to optical lens surfaces.
Step 4 - Rinse Rinse thoroughly with filtered or purified water to remove all detergent residue. Detergent residue left on the endoscope can interfere with subsequent disinfection and sterilization steps, and may cause surface degradation over time.
Step 5 - Visual inspection Under good lighting (and magnification loupe if available), inspect all surfaces for residual debris, scratches, corrosion, or damage. Pay particular attention to the distal lens surface and any areas around seals. Document any findings.
4. Automated Washer-Disinfector (Recommended)
Where available, automated washer-disinfectors (AWDs) validated for rigid endoscopes are preferred over manual cleaning alone. AWDs provide:
- Reproducible cleaning and thermal disinfection cycles
- Documented process records for traceability
- Reduced variability compared to manual technique
- Compliance with ISO 15883 requirements
Ensure that the AWD program used is validated specifically for rigid endoscopes and compatible with the endoscope's material specifications. Not all AWD programs are appropriate for all endoscope types - confirm compatibility with the manufacturer's IFU before use.
Manual cleaning should always precede AWD processing - the AWD is not a substitute for initial debris removal.
5. Sterilization Methods
Rigid sinus endoscopes are designed for sterilization - not merely high-level disinfection. The appropriate sterilization method depends on the endoscope's material compatibility and the facility's available equipment.
5.1 Steam Autoclave Sterilization (Preferred)
Steam sterilization (autoclaving) is the gold standard for heat-stable medical devices and the most widely used method for rigid sinus endoscopes.
Standard parameters:
- Temperature: 134°C (273°F) - pre-vacuum cycle
- Holding time: 3–4 minutes at temperature (cycle time including vacuum and drying phases is typically 20–30 minutes)
- Cycle type: Pre-vacuum (porous load) cycle - do not use gravity displacement cycle for endoscopes
Key requirements:
- The endoscope must be fully dry before loading - residual moisture inside the packaging can prevent steam penetration
- Use validated sterilization pouches or rigid sterilization containers appropriate for the instrument size
- Do not stack endoscopes in the autoclave - instruments should be positioned to allow full steam circulation
- Allow complete drying at the end of the cycle before handling or storage
Cycle limits: High-quality rigid sinus endoscopes are typically validated for 500 or more autoclave cycles. However, actual longevity depends on correct handling throughout the process. Instruments should be tracked by cycle count and inspected at regular intervals.
5.2 Low-Temperature Sterilization (Alternative)
For endoscopes with components that have temperature limitations (e.g., certain camera couplers or attached accessories), low-temperature sterilization methods may be used:
|
Method |
Agent |
Typical Cycle Time |
Considerations |
|
Ethylene oxide (EtO) |
EtO gas |
10–16 hours (including aeration) |
Long cycle time; residual gas requires extended aeration |
|
Hydrogen peroxide plasma |
H₂O₂ |
28–75 minutes |
Fast; no toxic residuals; check lumen compatibility |
|
Peracetic acid (liquid) |
Peracetic acid |
25–30 minutes |
Point-of-use only; no storage sterility |
Confirm compatibility with the specific endoscope model before using any low-temperature sterilization method. Refer to the manufacturer's IFU for approved methods.
5.3 High-Level Disinfection (Minimum Standard - Not Preferred)
Where sterilization is not available, high-level disinfection (HLD) with glutaraldehyde or ortho-phthalaldehyde (OPA) may be used as a minimum standard. However, sterilization is strongly preferred for instruments used in FESS, as the procedure involves contact with the paranasal sinus mucosa and potentially the skull base - areas where infection risk is clinically significant.
6. Inspection Protocol
Regular inspection is essential for detecting degradation before it affects clinical performance or patient safety. Inspection should occur at three points in the reprocessing cycle:
Pre-cleaning (point of care): Visual check for gross damage - bent insertion tube, cracked optical window, damaged light post connector.
Post-cleaning (before sterilization): Detailed inspection under magnification for residual debris, surface corrosion, scratches on optical surfaces, seal integrity, and any change in the optical image quality (assessed by looking through the eyepiece at a test target).
Post-sterilization (before use): Confirm packaging integrity, check for any fogging of the optical system after the sterilization cycle.
Optical Performance Check
A simple but effective optical check can be performed before each use:
- Connect the endoscope to the light source and camera system
- Hold the distal end approximately 5–10 cm from a printed test card or ruler
- Assess image brightness, sharpness, color rendering, and geometric accuracy
- Any reduction in brightness, localized fogging, dark spots, or color shift warrants removal from service for inspection

optical surface inspection for clarity and integrity
7. Storage Requirements
Correct storage protects the endoscope between uses and prevents damage that can occur during transport or handling.,
Storage guidelines:
- Store endoscopes in a clean, dry, ventilated environment - not in sealed pouches for extended periods after sterilization (follow facility policy on sterility expiry)
- Use dedicated endoscope storage cabinets or hanging systems that support the instrument without placing stress on the insertion tube
- Do not store endoscopes coiled, compressed, or with other instruments resting on them
- Protect the distal optical end with a lens cap during storage and transport
- Store in a temperature-controlled environment away from direct sunlight and chemical vapors
8. Common Reprocessing Errors and Their Consequences
Understanding the most frequent mistakes helps prevent them:
|
Error |
Consequence |
|
Skipping or inadequate manual cleaning |
Residual protein deposits shield pathogens from sterilization; biofilm formation |
|
Using saline for rinsing or soaking |
Accelerated corrosion of stainless steel components |
|
Incorrect autoclave temperature or cycle type |
Incomplete sterilization; potential thermal damage to seals |
|
Processing a failed leak test endoscope |
Internal moisture ingress; optical fogging; corrosion |
|
Using abrasive materials on optical surfaces |
Permanent scratching of lens surfaces; irreversible image degradation |
|
Inadequate drying before sterilization packaging |
Wet packaging compromises sterility; moisture damage |
|
Exceeding validated cycle count without inspection |
Undetected seal degradation; optical performance decline |
9. Maintenance Schedule
In addition to per-use reprocessing, a structured maintenance schedule extends instrument life and supports early detection of degradation:
|
Frequency |
Action |
|
Every use |
Full reprocessing cycle per protocol; optical performance check |
|
Monthly |
Detailed inspection under magnification; leak test; cycle count review |
|
Every 6 months |
Full technical inspection by biomedical engineering or manufacturer service; seal integrity verification |
|
At any sign of performance change |
Remove from service; send for inspection or repair |
10. For OEM/ODM Buyers: Reprocessing Compatibility as a Procurement Criterion
For distributors and procurement teams, reprocessing compatibility is not merely a clinical concern - it is a product specification that directly determines instrument longevity, total cost of ownership, and customer satisfaction.
When evaluating rigid sinus endoscopes from OEM suppliers, the following reprocessing-related specifications should be confirmed:
- Validated sterilization cycles: Number of autoclave cycles the instrument is validated for (minimum 300; premium instruments 500+)
- Autoclave temperature compatibility: Confirm 134°C pre-vacuum cycle compatibility
- Leak test protocol: Manufacturer should provide a documented leak test procedure
- IFU completeness: A compliant, detailed Instruction for Use document covering all reprocessing steps is a regulatory requirement (EU MDR, FDA) and a practical necessity for hospital acceptance
- Chemical compatibility: List of approved and contraindicated cleaning agents and disinfectants
- Repair and service pathway: Clear process for returning instruments that fail inspection
Endoscopes that are inadequately documented, incompatible with standard hospital sterilization equipment, or unsupported by a repair pathway will generate returns, complaints, and account attrition regardless of their initial optical quality.
For information on our endoscope repair services and reprocessing support documentation, [contact us →].
Conclusion
A rigid sinus endoscope is a precision optical instrument that can deliver consistent clinical performance across hundreds of surgical cases - but only if it is reprocessed correctly after each use. The protocol described in this guide - immediate post-use handling, thorough manual cleaning, validated sterilization, systematic inspection, and structured maintenance - is not procedural overhead. It is the operational foundation on which instrument longevity, patient safety, and clinical reliability depend.
For OEM/ODM partners and distributors, providing customers with clear, complete reprocessing documentation is both a regulatory requirement and a practical differentiator in competitive procurement environments.
Related articles:
[Rigid Sinus Endoscope technical guide →]
[Functional Endoscopic Sinus Surgery (FESS) →]
[How to Source Medical Endoscopes from China →]
Related products:
[Sinoscope | 0° / 30° / 70° →]
[Sinoscope - Value Series | 0° / 30° / 70° →]
[Professional Arthroscope | 0° / 30° / 70° →]

For technical specifications, reprocessing validation data, or OEM/ODM customization inquiries, [contact us →] or view our [Rigid Sinus Endoscope product guide →].